As a woman who has dieted many times, and is currently on a diet, I find that eating super flavorful foods help with not feeling like your missing out. I also feel like anything kinda spicy helps me feel like I don't need to eat as much.. which is good at the beginning of a diet when you are trying to shrink your stomach.

Tonight I made these Spicy Shrimp Fajitas with some fresh homemade Pico De Gallo, Recipe for the Pico De Gallo I made can be found here: http://cookingforthemonster.blogspot.com/2013/09/pico-de-gallo.html.
I found some flour tortillas at the store today that were only 80 calories.. which is awesome because in using those It was only 187 calories for one fajita. I ate two.. but still only 374 calories for a meal.. that's really really not bad.

Anyways lets get to the recipe for the shrimp
Entire recipe for shrimp is 435 calories. Makes about 5 servings (87 calories per serving)
Ingredients:


Tonight I made these Spicy Shrimp Fajitas with some fresh homemade Pico De Gallo, Recipe for the Pico De Gallo I made can be found here: http://cookingforthemonster.blogspot.com/2013/09/pico-de-gallo.html.
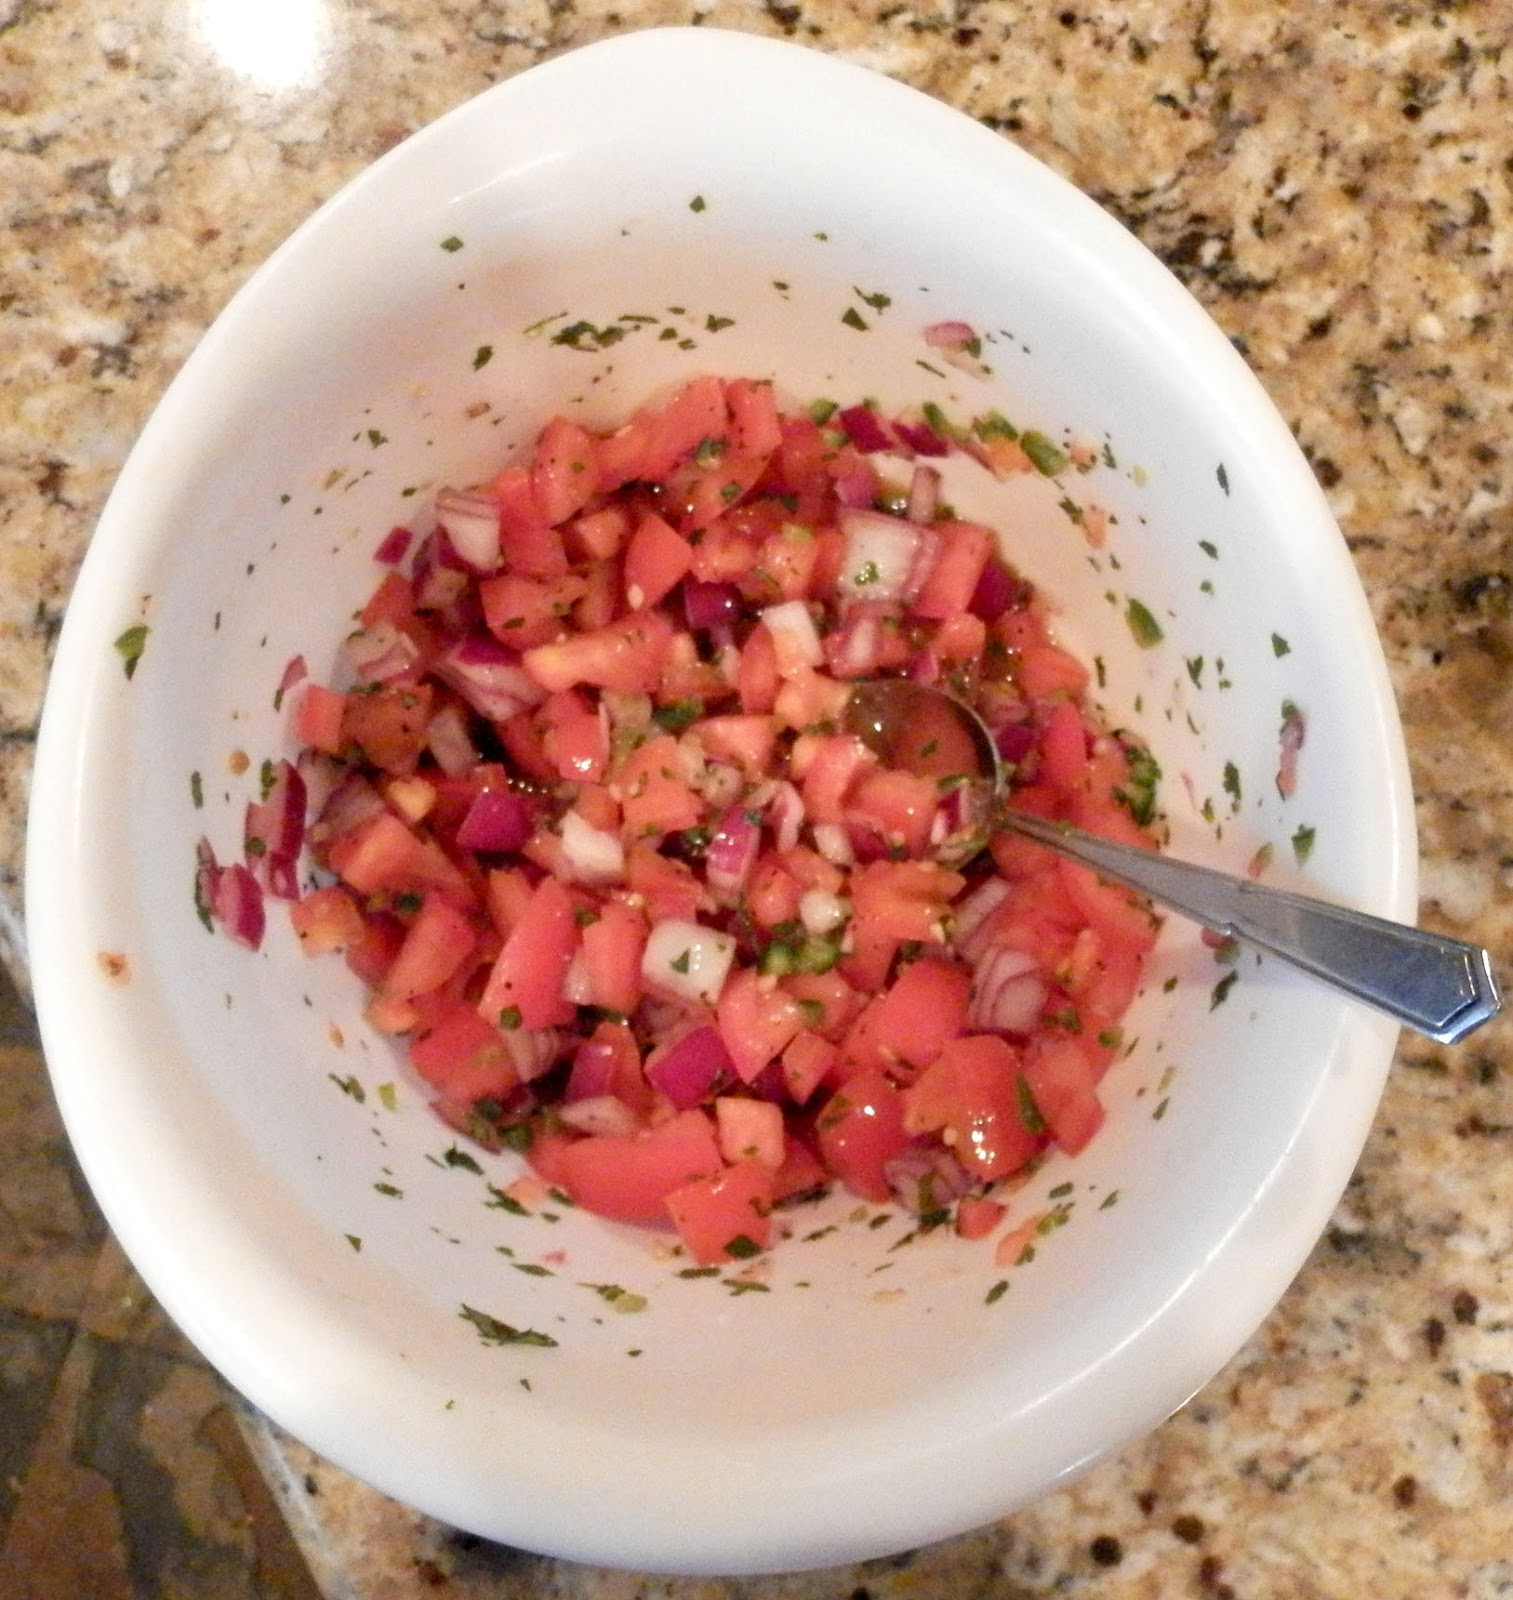 |
| AMAZING Pico De Gallo |
I found some flour tortillas at the store today that were only 80 calories.. which is awesome because in using those It was only 187 calories for one fajita. I ate two.. but still only 374 calories for a meal.. that's really really not bad.

Anyways lets get to the recipe for the shrimp
Entire recipe for shrimp is 435 calories. Makes about 5 servings (87 calories per serving)
Ingredients:
- 1 12oz. bag of frozen mini shrimp (about 420 calories for whole bag)
- ½ tsp cayenne
- ½ tsp smoked paprika
- ½ tsp garlic powder
- ½ tsp onion powder
- ½ tsp minced garlic (about 5 calories)
- Juice of 1 lime (about 10 calories)
Instructions
- Add the frozen shrimp to a skillet and bring heat to high.
- Add all your spices, garlic, and lime juice.
- Once the shrimp start getting thawed out its probably going to add a lot of liquid to your skillet and you might get worried.. but its ok. Just let it all cook off and make sure to start stirring your shrimp to make sure they don't stick to the bottom of your pan.
- Once all or most of the liquid is cooked off, remove from heat and serve with your fajitas!
- Like I said before, I used some 80 calorie tortillas that I found at Walmart. I used those tortillas, one serving of shrimp, and a couple spoon fulls of the pico de gallo. Wrap it all up and enjoy! 1 fajita is only 187 calories.. so feel free to enjoy!

ENJOY! Thanks for reading!
Comments
Post a Comment